|
Tools Needed:
5/16" Hex Head Wrench / Allen Wrench (Provided)
Tape Measure
Marker
You might also want to have -
A Bubble Level (to make sure the rails are level after the barre is built).
A Metal File, Sandpaper or Nail File (the ends of the pipe need to be free of all burrs).
Pipe lengths:
Also see:
What Pipe Can I Use?
Cut Lists
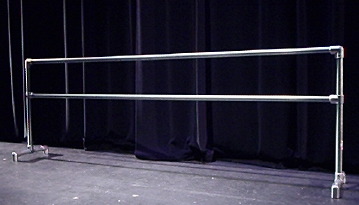
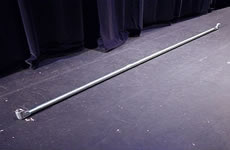
The following will result in a Barre 10' long, 41" high, 27" wide and is made from 3 - 10' lengths of EMT/ EMC pipe or
30' of schedule 40 pipe:
2 - 10' (Horizontal Rails)
2 - 3' (Uprights)
2 - 2' (Legs)
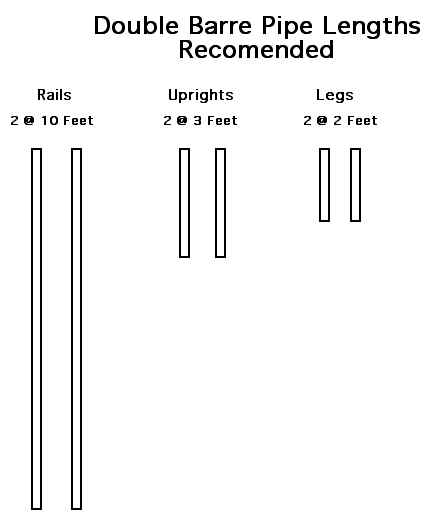
Note: Please feel free to adjust as desired. It is recommended that the leg pipes be no shorter than 18" (for a 21" wide leg).
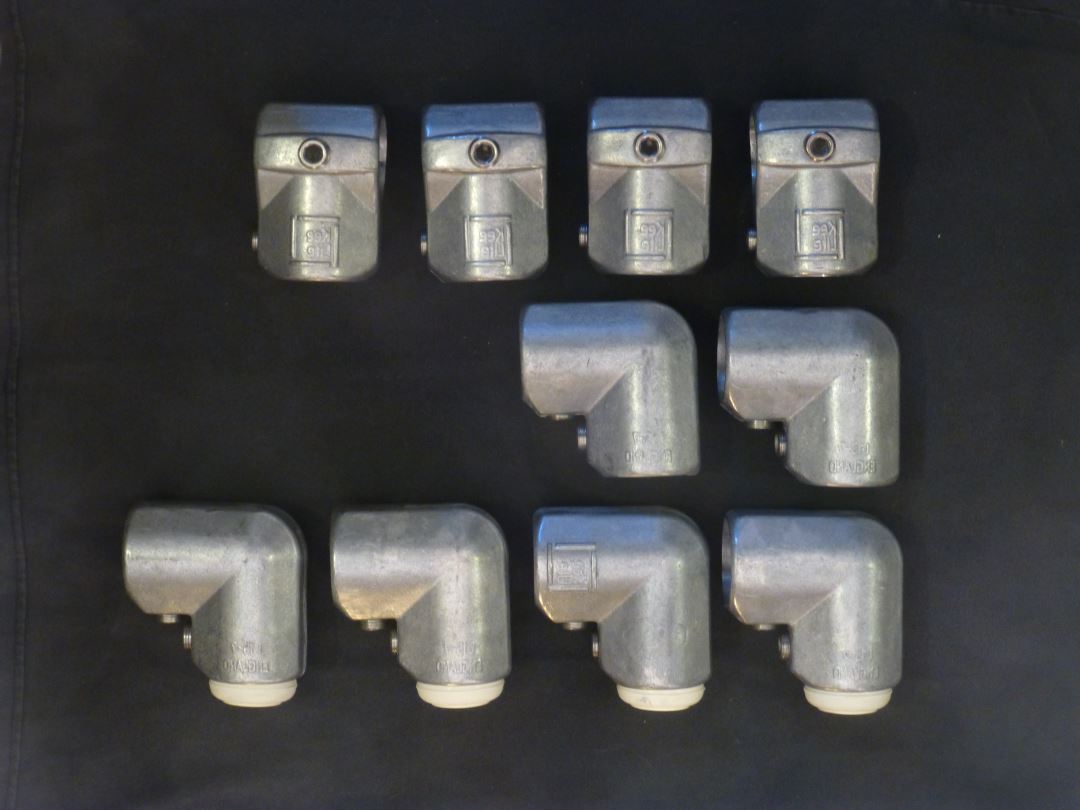
Double Barre Kit:
6 - "L" Fittings (4 with Rubber feet)
4 - "T" Fittings
NOTE: The terms "Finger Tight" and "Wrench Tight" -
FINGER TIGHT - The screw is tightened so that it lightly makes contact with the pipe. It is tight enough to keep the fitting
in place but loose enough to allow adjustment by hand.
WRENCH TIGHT - The screw is tightened one half (1/2) to three quarters (3/4) of a turn from the finger tight position. It
is important when using the fittings with EMT /EMC not to over tighten the screws or damage to the pipe will result.
Start
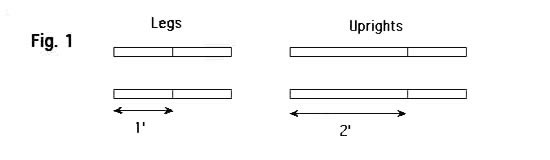
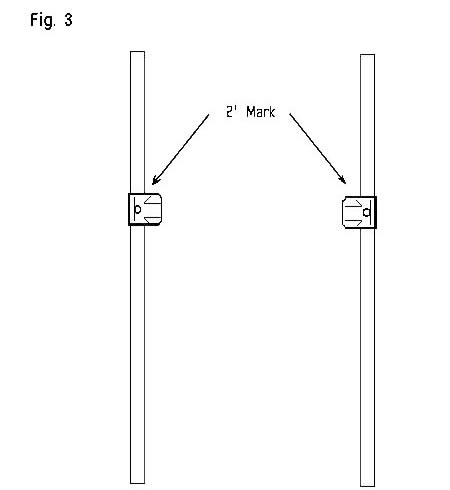
Using the Tape Measure, measure and mark each Leg at 1 foot (or in-half if the Legs are other than 2'). Next, measure and
mark each Upright pipe at 2 feet, or at whatever height you want the lower rail to be.
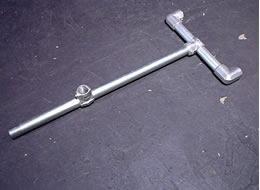
LEGS & FEET
- Take 2 "T" Fittings and slide one onto each of the Leg pipes using the marks to center them - tighten the screw FINGER TIGHT.
- Take the 4 "L" Fittings with rubber feet and place them on each end of the Legs. Tighten the screw to FINGER TIGHT.
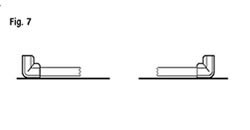
- Square up the "L" Fittings by placing the rubber feet down on a flat surface and rotating one or both of
the fittings so there is no rocking. Tighten the screws of the "L" Fittings to WRENCH TIGHT.
- The "L" Fittings now form the "Feet" for the Leg.
- Rotate the "T" Fitting so that it's open end is pointing straight up. (Keep its screw Finger Tight).

- Repeat for the other Leg.
THE UPRIGHTS & LOWER RAIL
- Take 2 "T" Fittings and slide one onto each of the Upright pipes using the marks previously made - tighten the screws to
FINGER TIGHT.
- Take one of the uprights and place in into the open end of the "T" Fitting of a Leg assembly, tighten the screw holding
the upright to FINGER TIGHT.
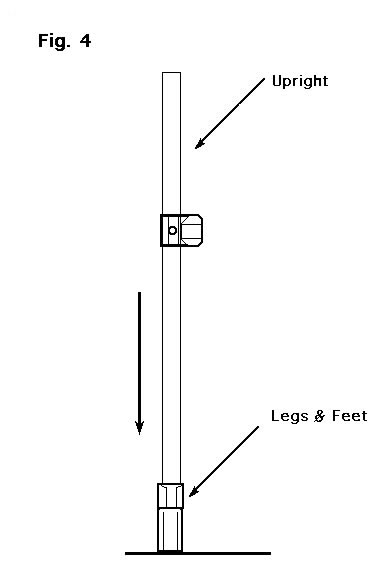
-Repeat with the other Upright.
- Take one Upright assembly and rotate it down towards the floor slightly and insert the Lower Rail into the upright's "T"
fitting, tighten the screw to FINGER TIGHT. The Lower Rail should be at a 90 deg. angle to the Leg assembly.
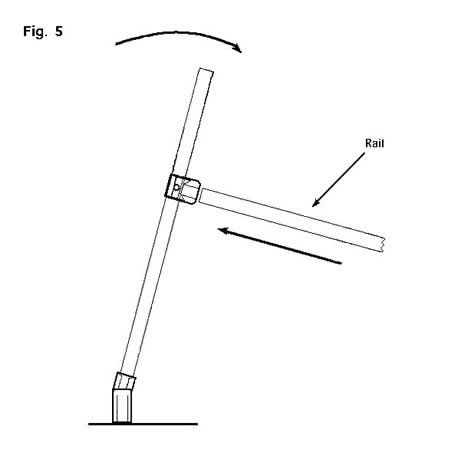
- Raise the free end of the Lower Rail and insert it into the open fitting of the remaining Leg / Upright assembly. The Barre
will now look like an elongated "H". Tighten screws to FINGER TIGHT.
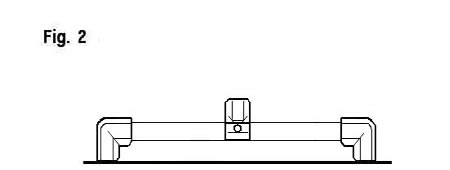
TOP BARRE RAIL & FINAL ADJUSTMENTS
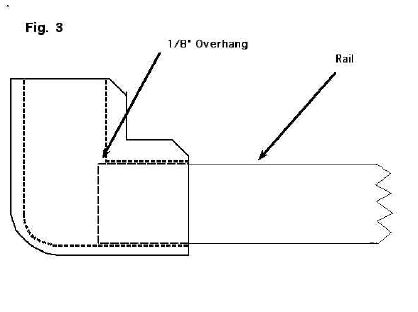
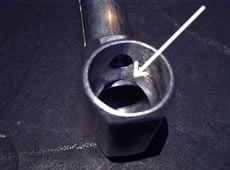
-Take the 2 remaining "L" Fittings and place them on each end of the Barre Rail. Adjust the Fittings so that about 1/8" the
pipe can be seen thru the opening. (Or, you can measure & mark the pipe at 1 7/8" from the end and slide the edge of the fitting
to the mark).
-Roughly square up the fittings by laying each on its back, with the openings straight up, on a flat surface. Tighten the
Screws to FINGER TIGHT.
- Take the top Barre Pipe and place it on the open ends of the Uprights. The 1/8" of pipe previously visible in the fitting
will act as a stop and make the top pipe level.
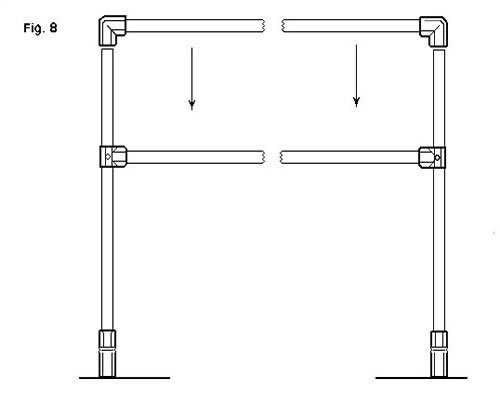
Square up the Legs to the Barre ( 90 degrees) by eye if necessary.
If the Barre rocks - rotate one of the Uprights in relation to the Barre Pipes to fix it. It may necessary to have another
person hold the other Upright steady.
Tighten all of the screws to WRENCH TIGHT.
Re- check all of the screws and make sure they are all WRENCH TIGHT.
You are now done!
If you have any questions or comments please call 510-376-6465 or e-mail: sales@halebarre.com
Maintenance & Safety Notes:
Do not allow dancers to sit on or swing from the barre!
Ballet barres are meant to be used only as an aid in balancing or stretching. Sitting or swinging on a barre may cause them
to tip over and cause injury.
Check the tightness of screws on a regular basis.
Moving the barre, even once a day, will eventually cause the screws in the fittings to loosen. How quickly this will happen
depends on how the barre is moved and how often. If, for example, the barre is moved several times a day by one person dragging
it across the floor, weekly checks will be necessary. If, however, the barre is moved once a day by two dancers lifting and
carrying it, then a check once every three or four months is reasonable.
Immediately fix any fittings that are found loose.
Despite regular checks a fitting may still come loose during a class. Keep the wrench provided with the kit where all teachers
know where it is and how to use it. Do not use a barre that has obvious loose fittings or put one in storage unless it is
marked as needing maintenance.
|